OUR SOLUTIONS FOR YOUR ULTRASONIC TESTING (NDT UT / PA)
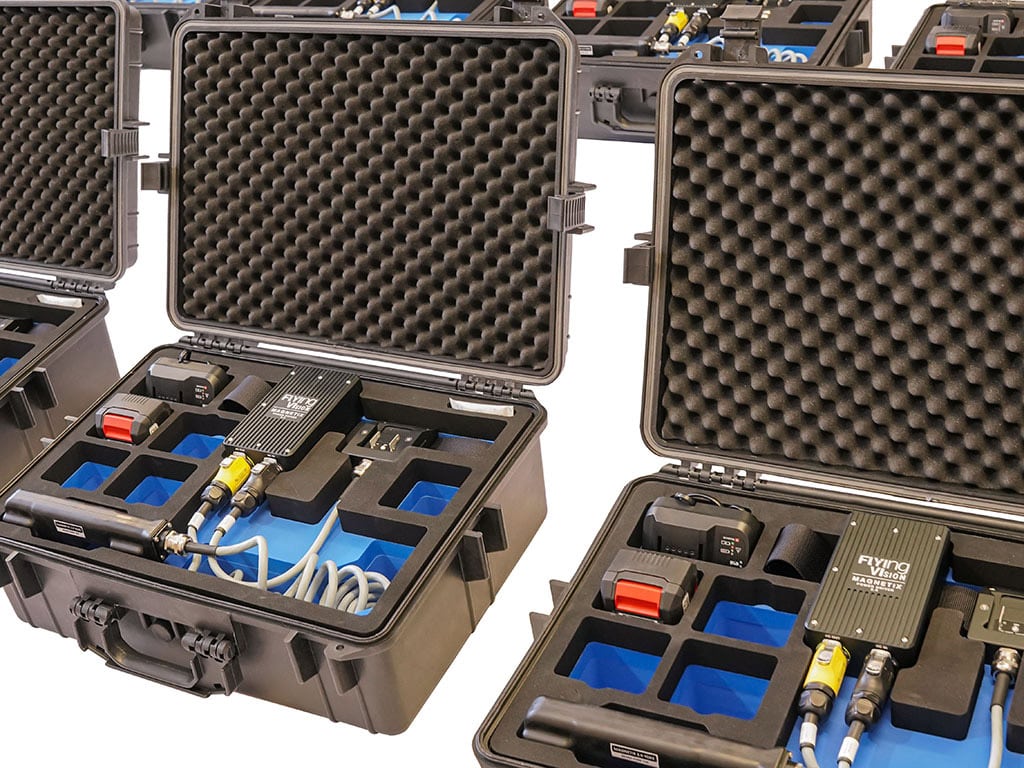
Flyingvision initially specialized in the development of deployment methods for ultrasonic systems, mainly through the development of custom carriers for specific applications (magnetic UT crawler, UT drone, portable UT scanner, robotic UT scanner). Therefore, we decided to develop a standard range of carriers, scanners, rovers, and deployment systems for ultrasonic solutions (conventional ultrasound, phased array, TOFD, etc.).
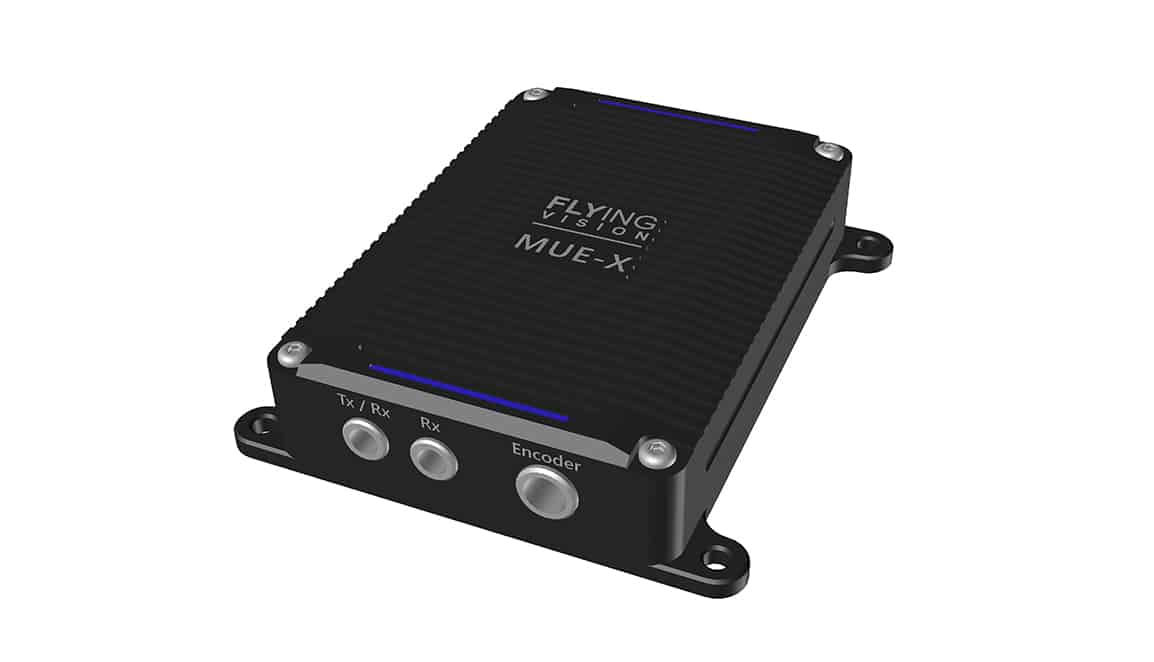
To offer the most integrated and comprehensive solutions possible, it was clear to us that we needed to develop our own ultrasonic testing solution. We have thus created a UT card available in several versions and integrable in all our solutions of carriers, scanners, crawlers, robots, and also in OEM version for specific customer needs. Our tools and different systems remain, however, compatible with market ultrasonic systems.
Come discover our range of products and accessories dedicated to professionals in non-destructive ultrasonic testing UT / PA.
Manual UT Scanners
RUC
Ultrasonic B-Scan manual scanner
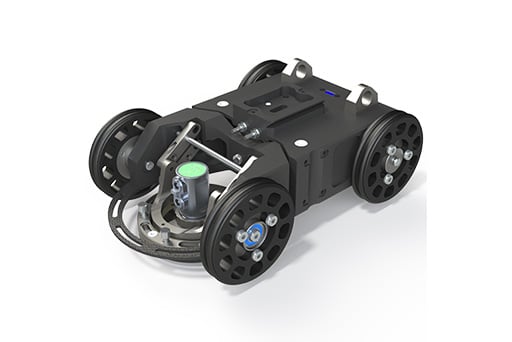
The RUC1 is an ultrasonic B-scan runner specially developed to meet the challenges posed by inspections of elements at heights less than 10 meters, which usually require expensive means or involve significant risks for personnel.
UT Ultrasonic Cards
MUE
Embedded Ultrasonic Module
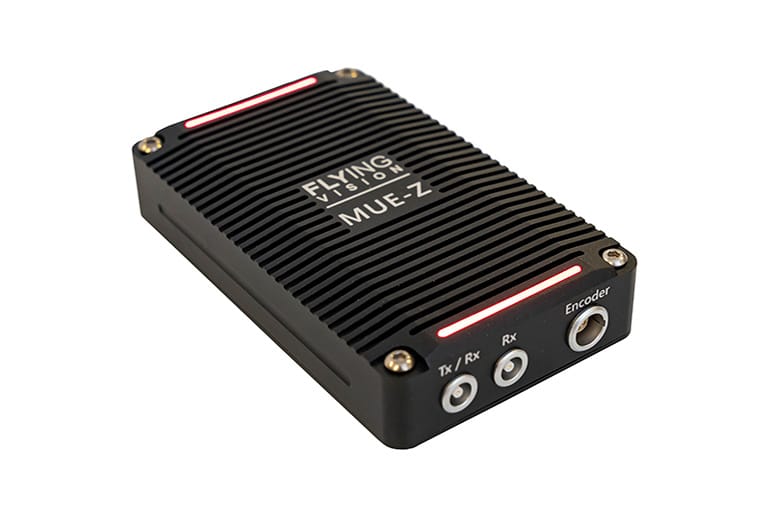
Immerse yourself in the world of MUE, where ultrasonic testing meets embedded technology, creating a versatile solution for robotic applications and a multitude of industrial scenarios.
Non-Destructive Testing with Ultrasonics
General Principle of Ultrasonic Testing
Ultrasonic testing involves emitting an ultrasonic wave into a material and analyzing its path to detect flaws or indications. Ultrasonic waves are most commonly generated by a piezoelectric element that converts an electrical signal into mechanical vibration and vice versa.
There are numerous ultrasonic testing techniques that take different names (Phased Array, TOFD, etc.) depending on many parameters such as the type of wave analyzed, transmission or reflection testing, the number of elements, the inclination of the treated waves, whether the TX and RX device is separate or not, etc.
Ultrasonics most frequently used for, for example, thickness measurement, corrosion detection, delamination search, or simple weld inspection, utilize echoes generated by reflection. The ultrasonic wave emission and reception device can either be integrated in the same transducer, for example, for simple thickness measurement, delamination search, or simple flaw detection on sheets, or integrated into an independent transducer with different emission and reception angles for defect detection in welds, for example.
With frequencies typically ranging from 0.5 to 20 MHz, the choice depends on a compromise between spatial resolution and penetration capability. Inspections can be manual or automated, in direct contact or immersion, and often involve specific adjustments and meticulous calibration on reference parts.
The advent of multi-element techniques, such as Phased Array or PA control, revolutionizes the field of ultrasonic testing, allowing for increased speed, precision, and overall detectability of the method. PA control techniques can compete with traditional control methods like radiography without its hazards.
Ultrasonics are widely used to inspect various materials and geometries, detecting cracks, inclusions, porosities, and performing dimensional analyses. Benefits include high sensitivity, the possibility of precise fault localization, quick implementation, and the absence of chemical or radiological risks. Continuous innovation in this field ensures the constant evolution of this technology.
Control Issues
Guidance and Precision in Control
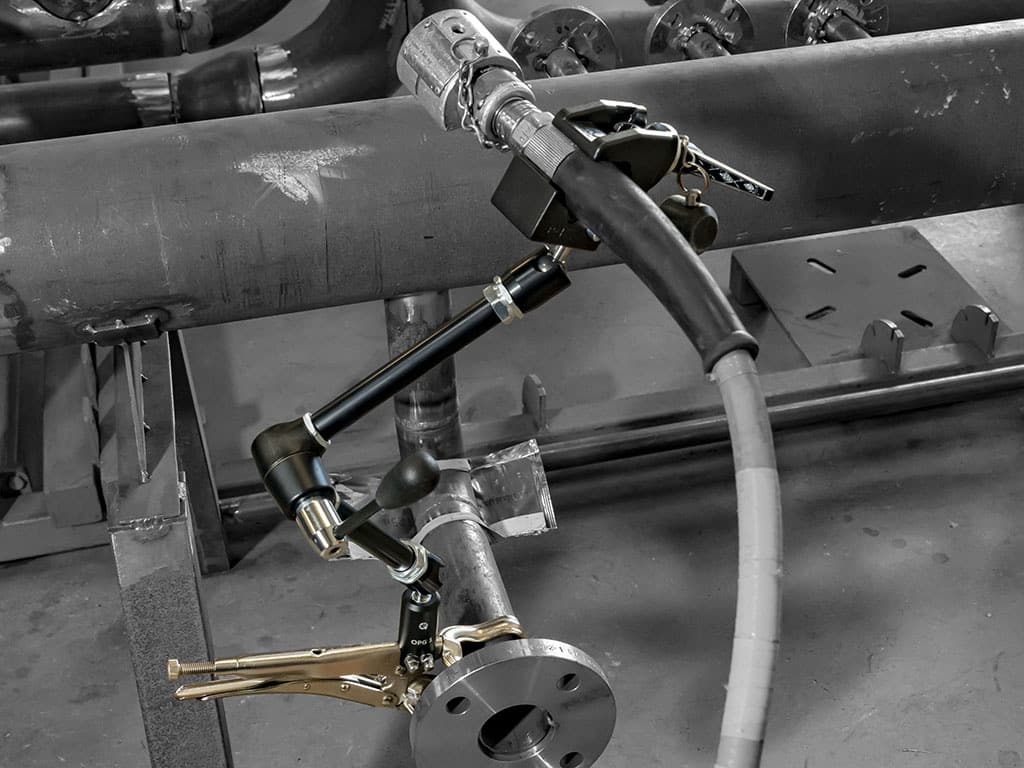
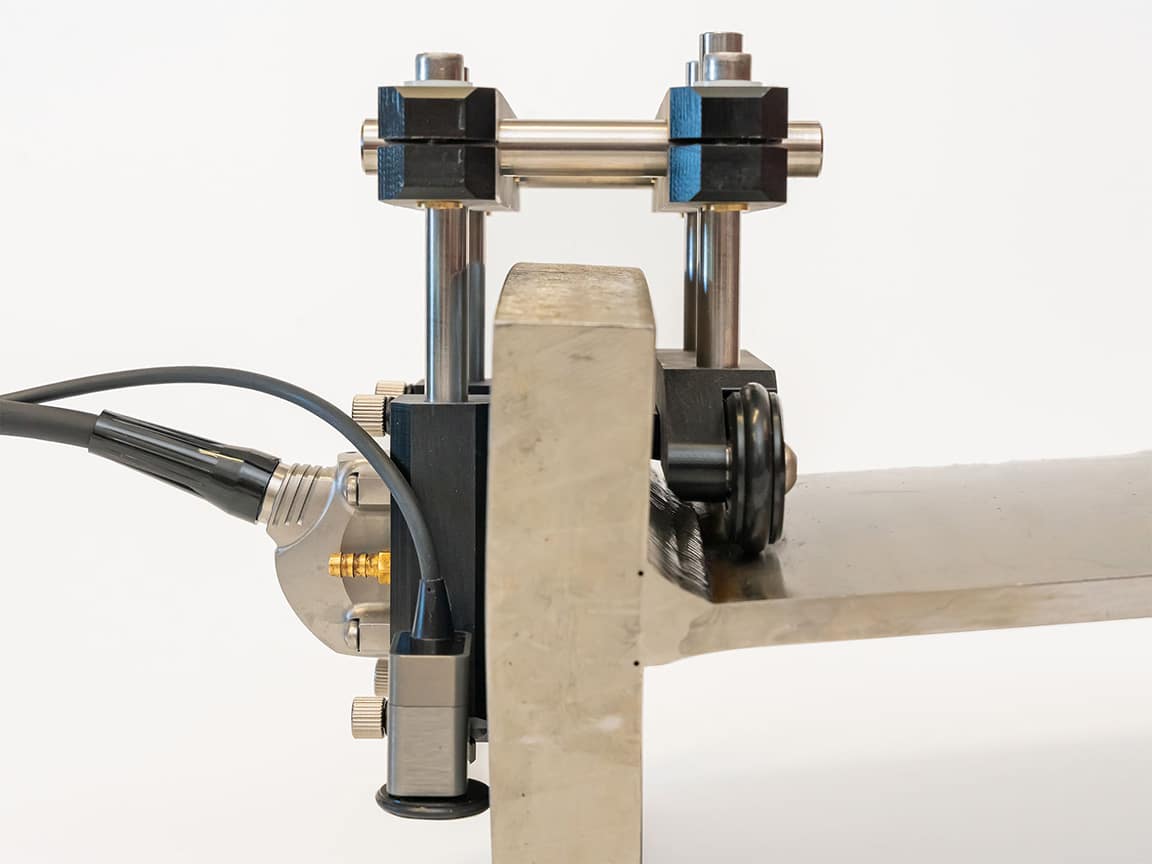
When inspecting welds, it is imperative to maintain a predetermined positioning of the probe relative to the weld to ensure detectability of any defects. Guidance systems, or manual scanners, more or less complex, become mandatory to ensure the conformity of the control.
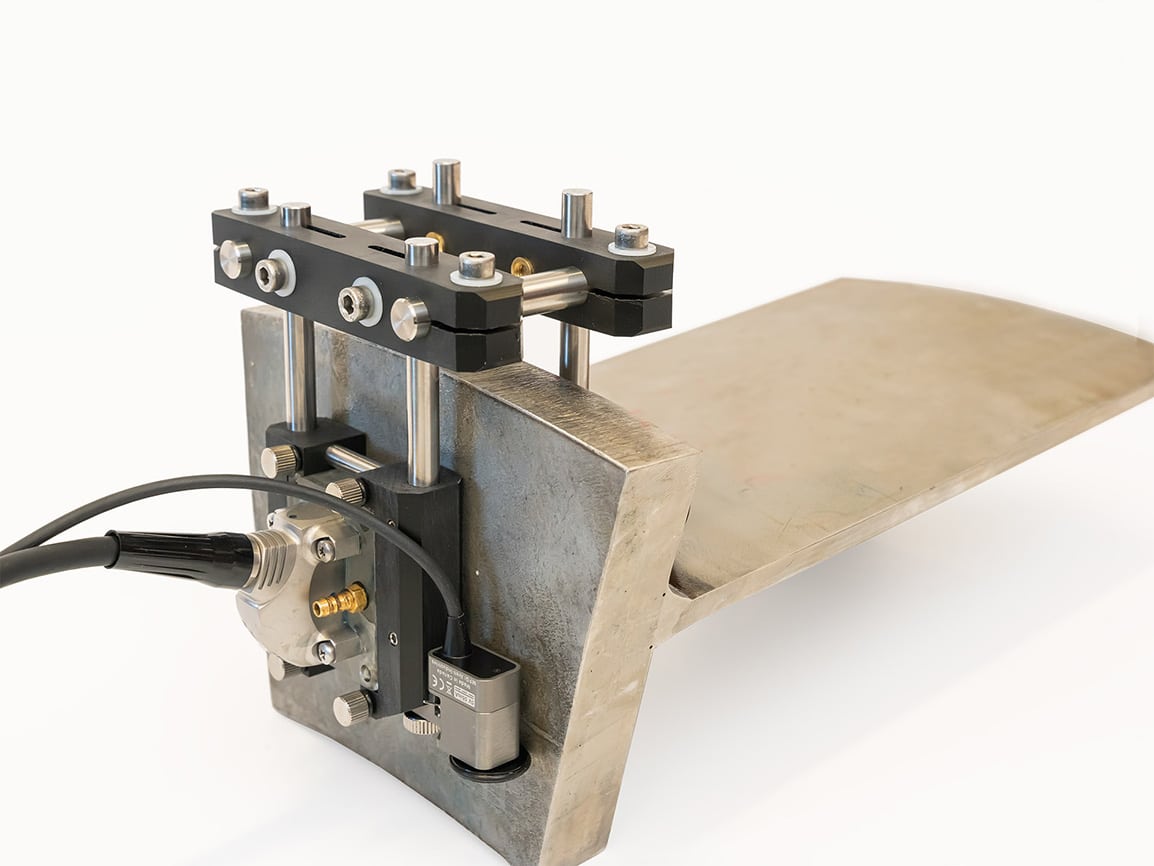
The modularity of this type of guidance and positioning system for your PA or UT probes is very important, as each weld configuration requires adapting the probe holder tooling.
Field Inspection and Control in Hard-to-Reach Areas
In the energy sector, numerous pieces of equipment such as pipelines, tanks, product storage basins, gas spheres, or various appliances are subject to periodic inspections to check their state of degradation, particularly by measuring residual metal thicknesses.
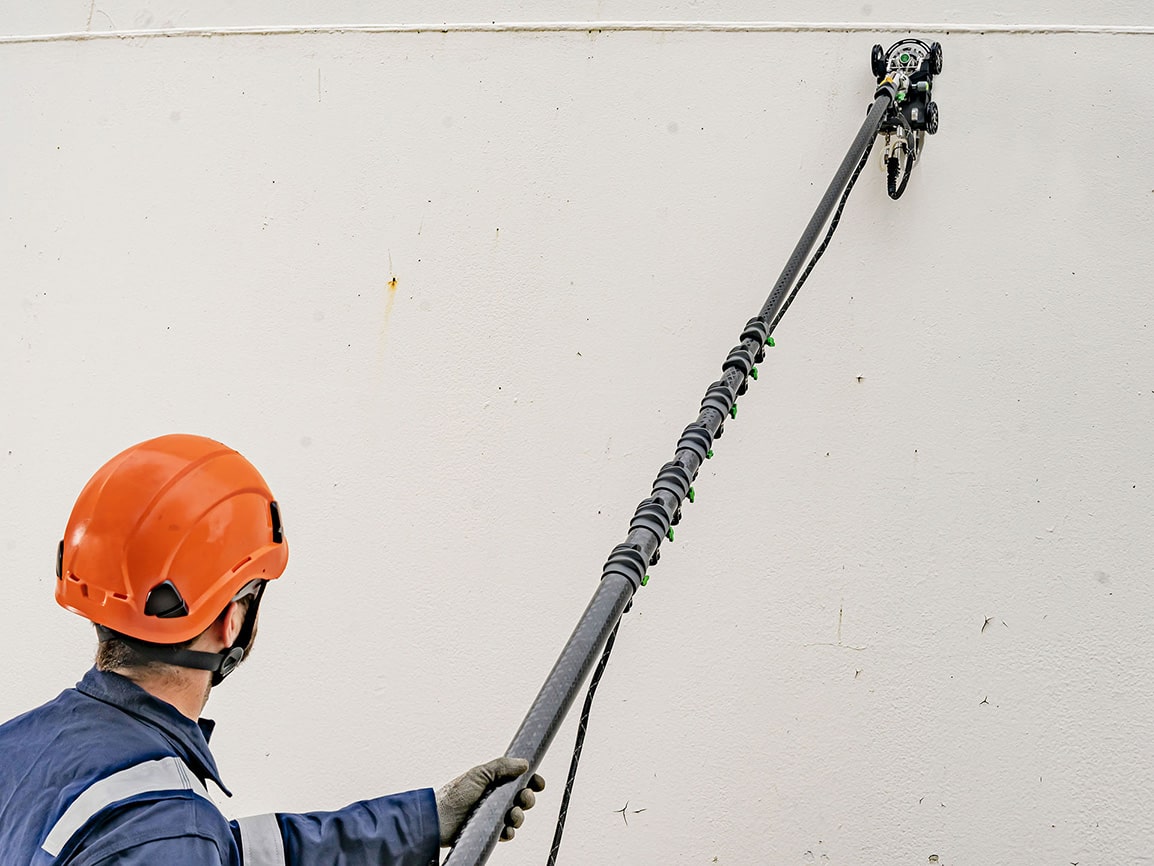
In this context, traditional ultrasonics are widely used, with manual BSCAN scanners or ASCAN thickness gauges. A recurring issue in controlling this type of equipment is the accessibility of the areas to be inspected, as most elements are located at height.
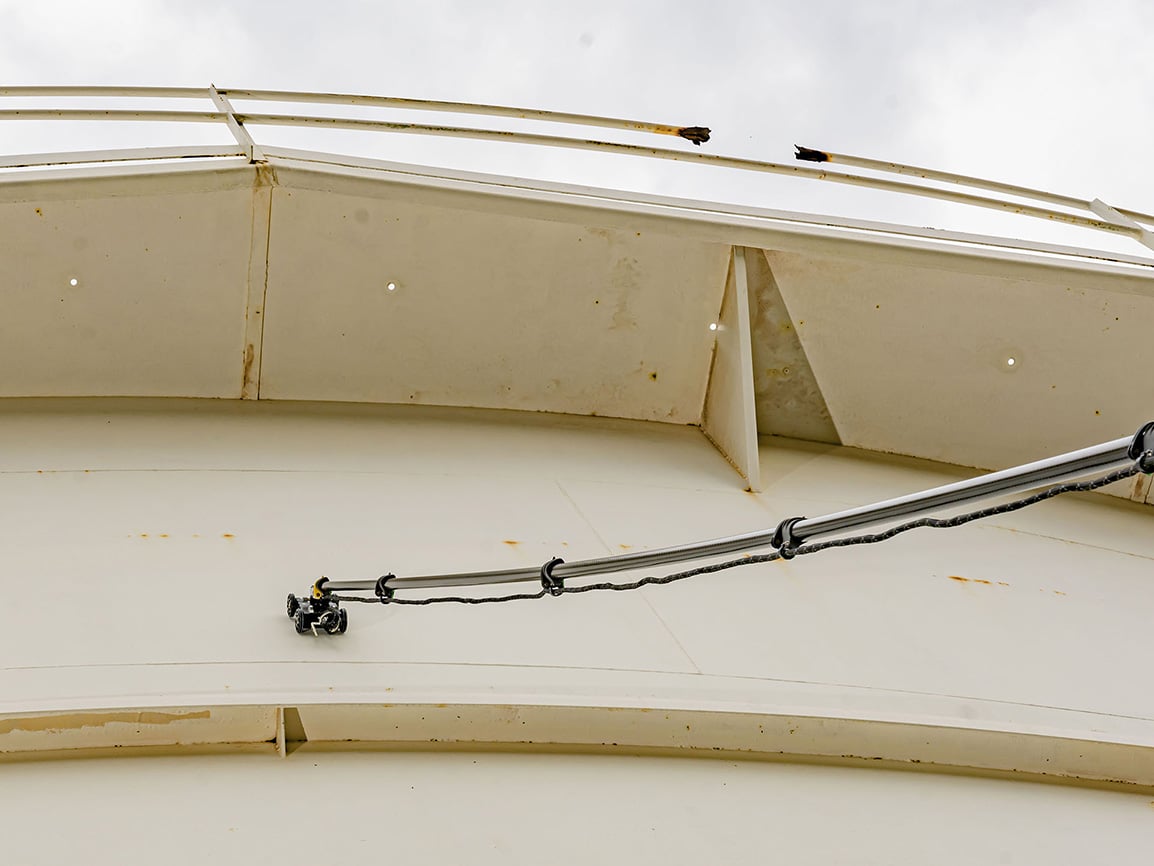
To limit the significant costs and human risks associated with traditional access methods such as scaffolding, aerial work platforms, or rope access, we have developed solutions allowing the remote deployment of UT control means, mainly in BSCAN. This deployment of portable BSCAN scanners by telescopic pole meets a wide range of corrosion inspection needs on elements ranging from 2 meters to average heights of less than 10 meters, without resorting to more complex and costly magnetic robots.
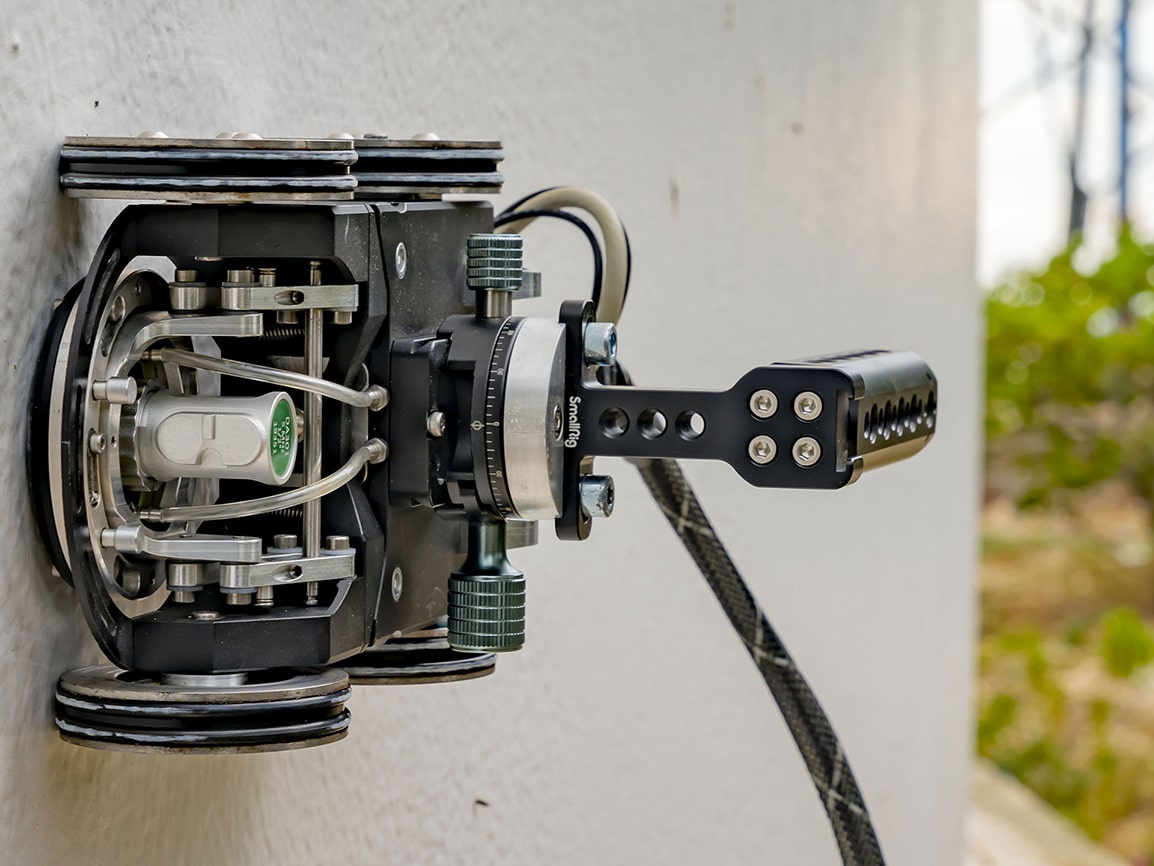
Our manual BSCAN scanners for ultrasonic corrosion detection can be deployed via a pole or manually, and can also be equipped with non-magnetic wheels or magnetic wheels depending on the configuration and height of control. This type of instrumented UT pole can also optionally be equipped with a vision system to correlate ultrasonic data with the surface condition of the inspected equipment.
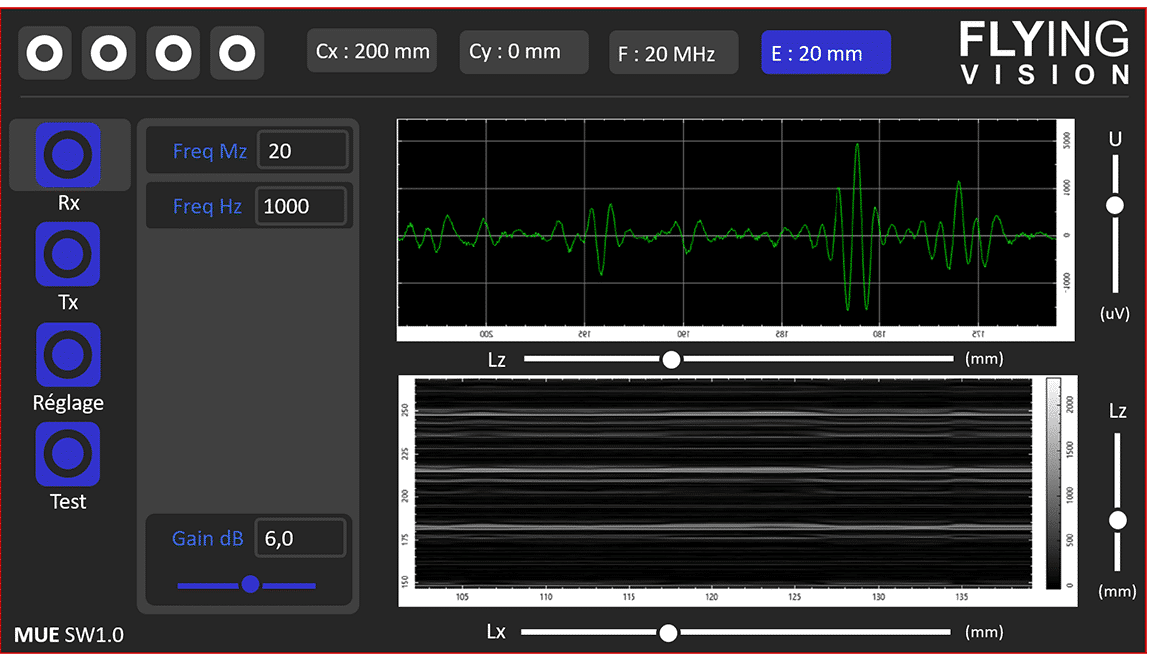
Our MUE range of ASCAN, BSCAN, CSCAN ultrasonic cards is a perfect complement to these NDT instrumented poles.
Serial Inspection and Control in Workshop or Laboratory
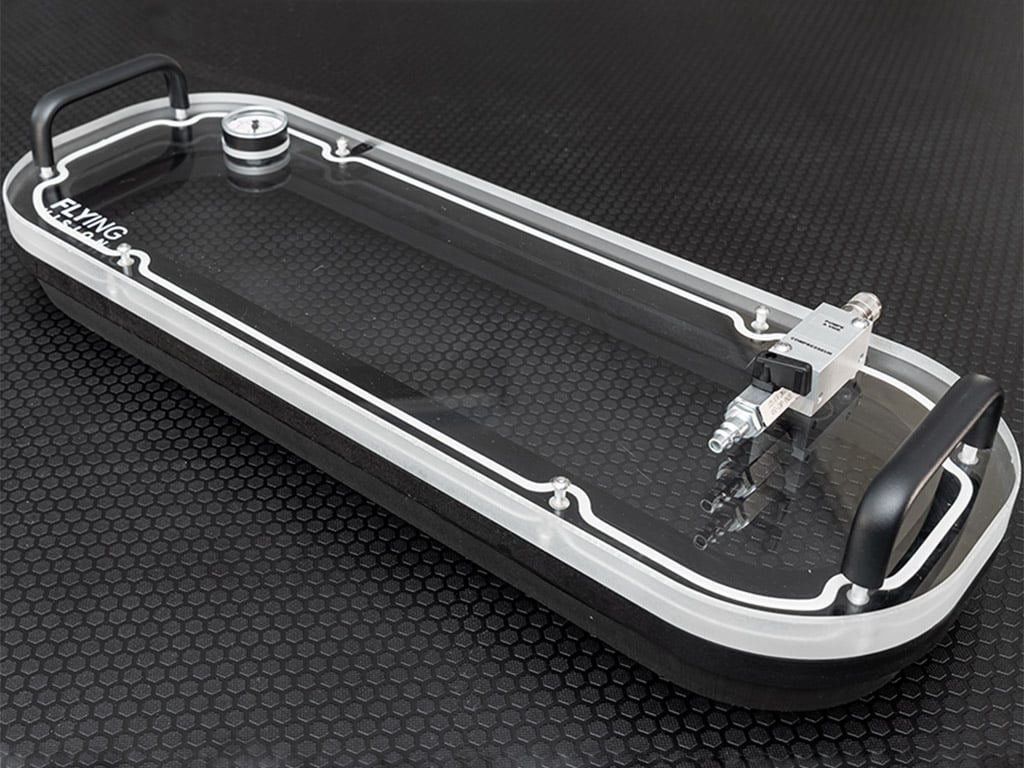
Ultrasonic immersion tanks are widespread in laboratory applications or on production lines for serial control needs. This type of UT control offers significant advantages such as repeatability, high yield, and control of the conditions. Our MUE range of UT control solutions perfectly meets the needs of control in immersion tanks.
As each need is specific, we are able to adapt our existing solutions and provide automated control systems in immersion tanks fully adapted to your needs, especially with the addition of vision data or metadata from other sensors to automatically identify the controlled parts.
Our expertise in mechatronic design and our experience in the field enable us to meet your complete needs in ultrasonic immersion tank control.
Associated Standards for Ultrasonic Testing – UT testing
NF EN 17635: Non-destructive testing of welded joints – General rules for metallic materials (A 89-500)
NF EN ISO 16810 Non-destructive testing – Ultrasonic testing – General principles
NF EN ISO 16811 Non-destructive testing – Ultrasonic testing – Sensitivity and time base setting
NF EN ISO 16823 Non-destructive testing – Ultrasonic testing – Transmission technique
NF EN ISO 16826 Non-destructive testing – Ultrasonic testing – Testing of discontinuities perpendicular to the surface
NF EN ISO 16827 Non-destructive testing – Ultrasonic testing – Characterization and sizing of discontinuities
NF EN ISO 16828 Non-destructive testing – Ultrasonic testing – Time-of-flight diffraction technique as a method for detection and sizing of discontinuities
NF EN 12668-1 Non-destructive testing – Characterization and verification of ultrasonic testing equipment – Part 1: Instruments
NF EN 12668-2 Non-destructive testing – Characterization and verification of ultrasonic testing equipment – Part 2: Probes
NF EN 12668-3 Non-destructive testing – Characterization and verification of ultrasonic testing equipment – Part 3: Complete equipment
NF ISO 12715 Non-destructive testing – Ultrasonic testing – Reference blocks and test procedures for the characterization of acoustic beams of probes used in contact testing
